Simple Succulent Pot Scrubber
Simple Succulent Pot Scrubber

ch=chain
sc = single crochet
hdc = half double
crochet sl st = slip stitch
dc = double
crochet lp st = loop
st
dec = decrease
inc = increase
yo=yarn over
tog=together
rem=remaining
Gauge. In sc, 13 sts = 4" and 15 rows = 4"
Materials Needed
Red Heart Scrubby yarn
Size I crochet hook
Darning needle and scissors

Red Heart Scrubby is a textured specialty yarn, which means that it can be a little bit difficult to see the stes. This is particularly an issue in crochet. If you crochet too tightly, you may find it difficult to see where the next st goes. It is recommended that you use a st marker and consider working in spaces rather than sts. You will make mistakes with this yarn so increase or decrease as needed to obtain st count.
Materials Needed: Size I hook, 1 ¾ ounces of Scrubby Yarn, 1 ounce of any other 4 ply yarn. Darning Needle and Scissors. Good strong thread in simalar color to yarn and a sewing needle.
With I Hook and Green Scrubby Yarn, ch 99.
Row 1. Dc in 4th ch from hook and in each st across. (St count is really unimportant as this is very forgiving yarn but very hard to work with. Do not be concerned, you can always skip more or less in the next row.) Ch 1 and turn.
Row 2. Sc in 1st st. [Sk 2 sts, in next st make 3 trc, picot and 3 trc, sk 2 sts and sc in next st.] 7 times.
[Sk 2 sts, in next st make dc, trc, picot and 2 dcs. Sk 2 sts and sc in next st.] 5 times. [Sk 1 st, in next st make 2

dcs, picot and 2 dc. Sk 1 st and sc in next st.] 3 times. [Sk 1 st, in next st make hdc, dcs, picot and hdc. Sk 1 st and sc in next st.] 3 times. [Sk 1 st, in next st make hdc, picot and 2 hdc] until last st. This is where you will adjust for more or less sts. Sc in last st. End off leaving a short tail. (No need to weave it in as it will dissapear in the scrubbie.)
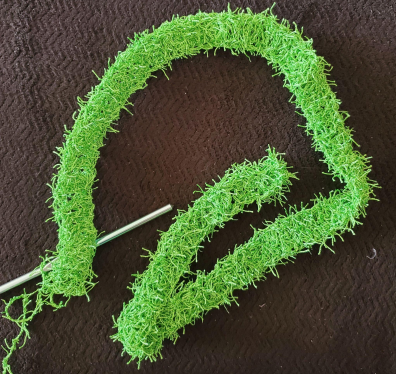
You will have a piece that looks like this.
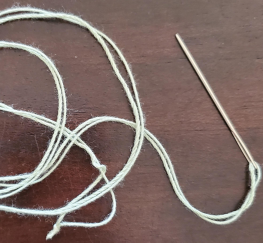
Thread your sewing needle with your good strong thread.

Starting at the narrow edge, begin rolling the piece towards the opposite end. I like to sew as I go.
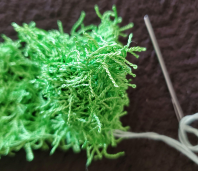
Keep rolling, being careful not to roll too tight. Also keep putting the roll a little higher than the last round. Thi makes a rounded bottom and allows the outer leaves to standoul Once rolled I like to sew it all together again going through all thicknesses.

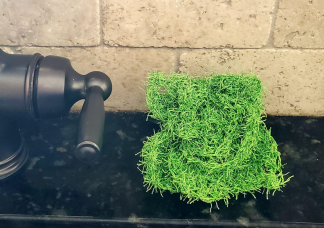
Fluff out and use.


Comments
Post a Comment